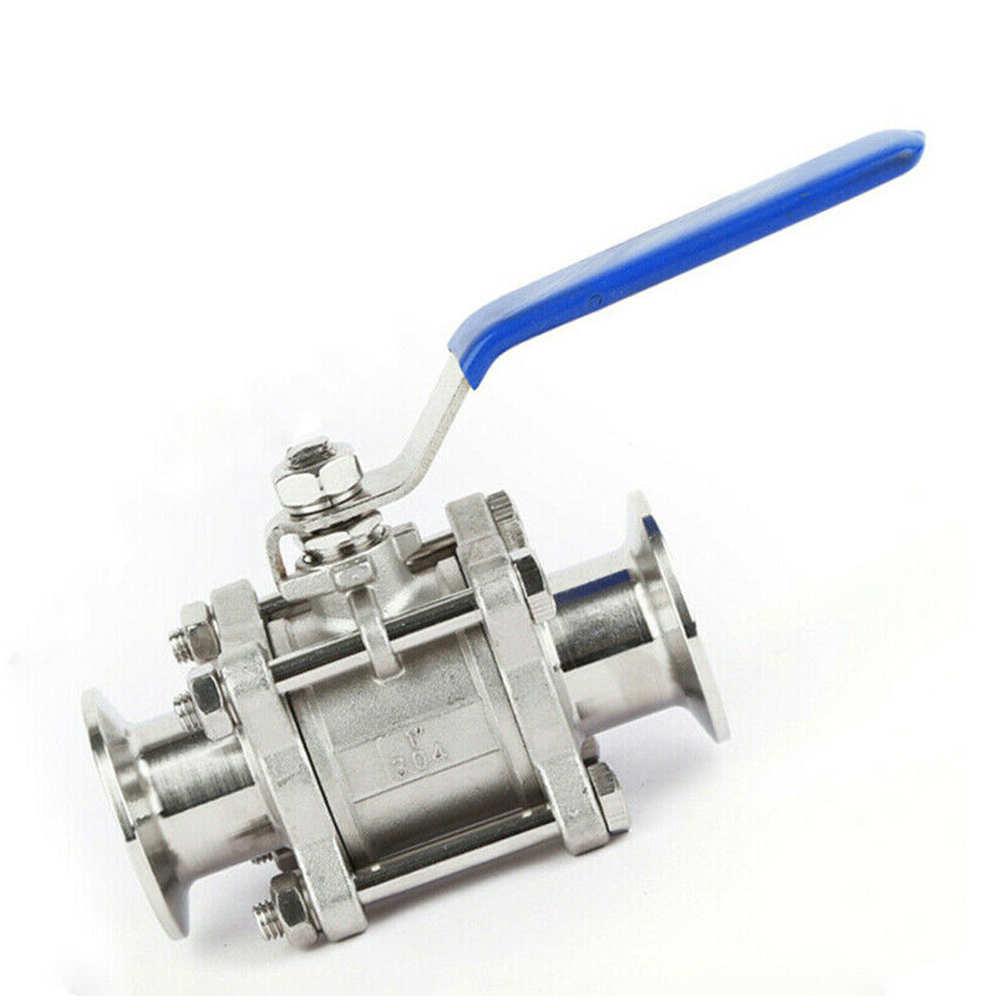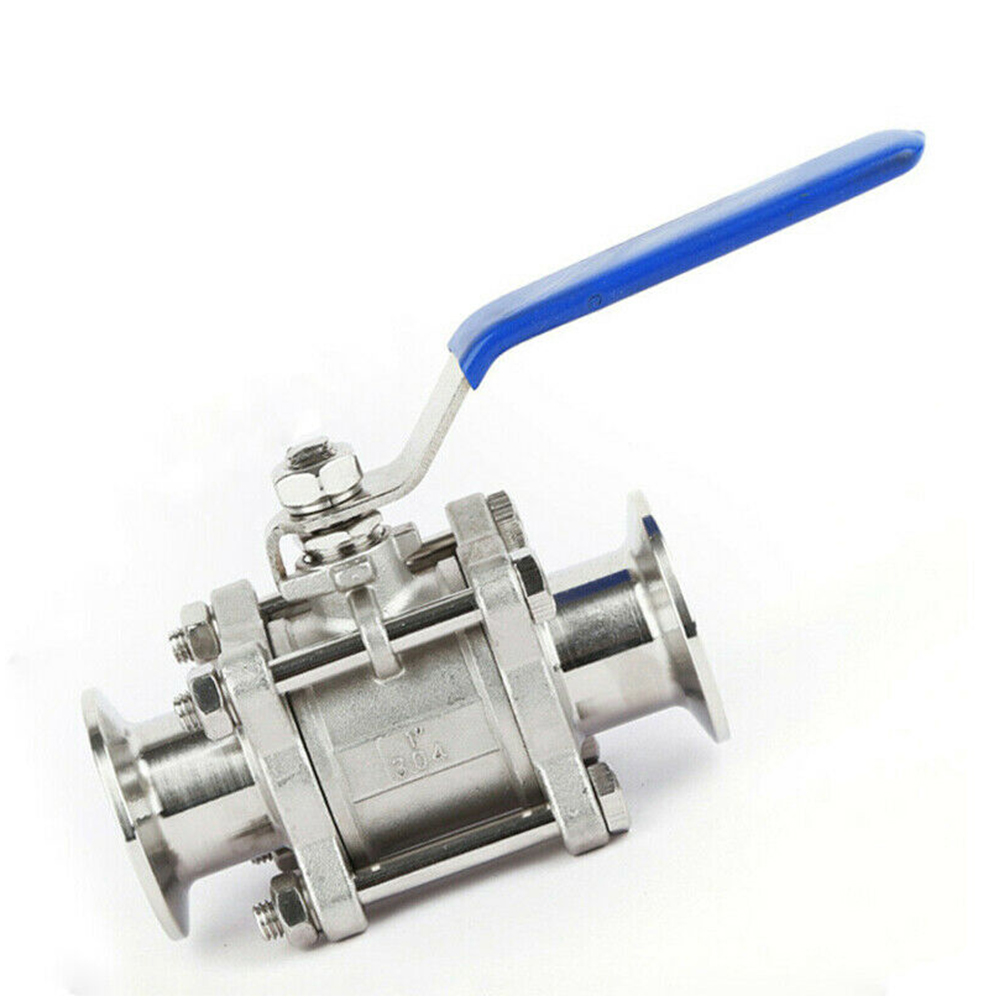
How to Replace the Seat and Seal of the Electric Ball Valve?
- Disassembly
Keep the valve in a half-open position to flush and remove dangerous substances that may exist inside and outside the valve.
Close the ball valve, remove the connecting bolts and nuts on both flanges, and then completely remove the valve from the pipeline.
Disassemble the drive device-actuator, connecting bracket, lock washer, stem nut, butterfly shrapnel, glam, wear-resistant piece, stem packing in order.
Remove the body cover connecting bolts and nuts, separate the valve cover from the valve body, and remove the valve cover gasket.
Make sure that the valve ball is in the “off” position. This will make it easier to take it out of the valve body, and then take out the valve seat.
Gently push the stem down from the hole in the valve body until it is completely taken out, and then take out the O-ring and the lower packing of the stem.
Note: Please operate carefully to avoid scratching the surface of the valve stem and the sealing part of the valve body stuffing box.
2. Reassembly
Clean and inspect the removed parts. It is strongly recommended to replace the valve seat and valve cover gasket with spare parts kit.
Assemble in the reverse order of disassembly.
Use the specified torque to tighten the flange connecting bolts crosswise.
Tighten the stem nut with the specified torque.
After installing the actuator, input the corresponding signal to drive the valve core to rotate by rotating the valve stem to make the valve open and close.
If possible, please perform pressure seal test and performance test on the valve according to relevant standards before reinstalling the pipeline.

